Sidebar photos and progress bars
OK, it seems there are few of you out there who are wondering how to put the piccies in your sidebar, along with progress bars - so I thought I'd share how I did mine. Bear in mind, though, that I have absolutely no HTML or computer programming experience, so there may be a better way of doing it ... but this way (as cumbersome as it is) seems to work for me.
The first thing I came across in my quest for setting up my sidebars when I first started blogging was Melanie's blog - here Melanie has given us all the use of her progress bars, in blue. If you click on this link it will take you to the right page in her archives, where the graphics are kept. You just right click with your mouse over each progress bar and save each one to your own computer files. You may notice that my bars are a different colour - when I had my blog revamped you couldn't see the paler blue anymore, so my good pal Jenna did me some new ones - thanks Jenna! :D So, that's step one out of the way ...
Step two is to get the progress bars to a hosting program for photos/graphics that lets you post to websites - I use Photobucket for this. You just create an account (it's free) and start uploading your progress bar files.
Step three is to upload them into your sidebar. I'm not sure if you want to know how to upload piccies as well, so I'll cover both just in case ...
First thing you need to do is to go into your template settings in Blogger ... and work out where you want your progress piccies etc to be in your sidebar. My template, for example, shows the following (I had to type the title heading info as well, to give me a separate 'in progress' section):
(h2 class="sidebar-title")In Progress(/h2)
(ul)
(center)(li)(a)Dolphins Domain(/a)(/li)
(li)(img src="http://i19.photobucket.com/albums/b193/shakatak66/WIPs/Dolphinschart.jpg" alt="Image hosted by Photobucket.com")
(li)(img src="http://i19.photobucket.com/albums/b193/shakatak66/Progress%20Bars/db-65.gif" alt="Image hosted by Photobucket.com")
(/ul)(/center)
You just have to remember, when you use the above codes, you must replace every single ( with <, and each ) with > ... that's the only way I could type it without it turning into an actual command and posting the pictures in the middle of the paragraph - I have soooo much more to learn yet! A good thing to do if you're going to try this, is to save your template before you start (I always did a backup copy and paste into a Word document so I could reverse everything later if I really stuffed things up).
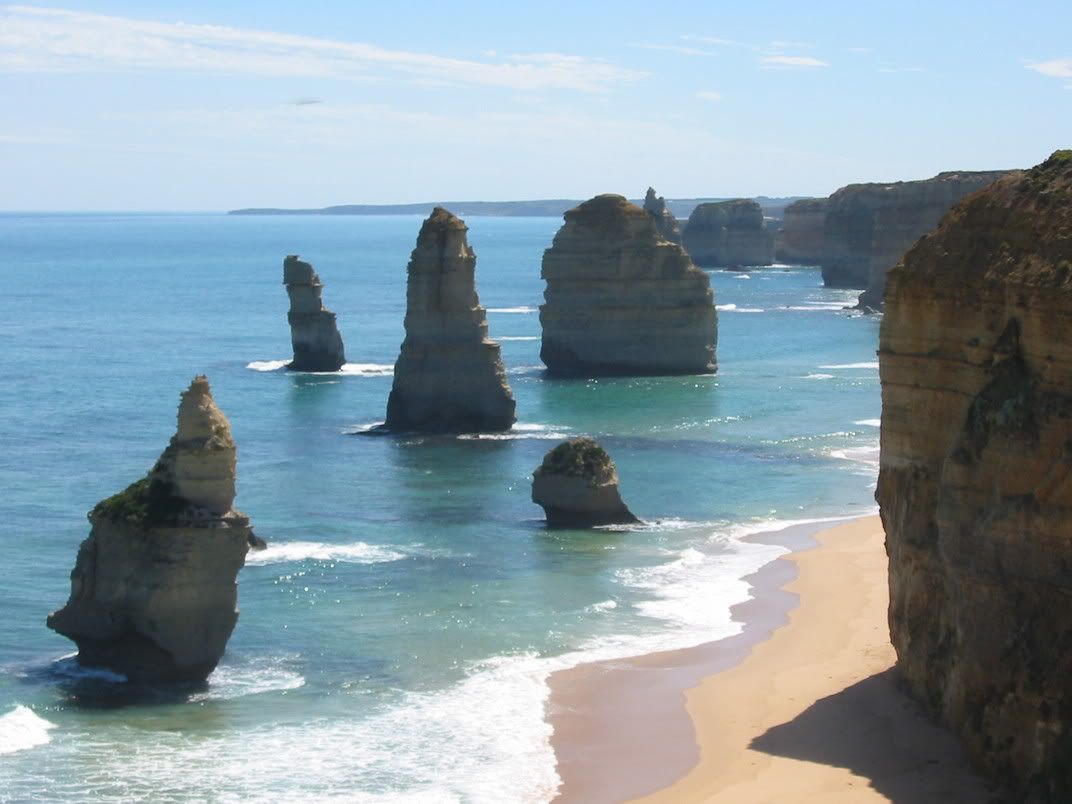
Where I've turned the text red above, this is the file code from Photobucket for one of my progress bars. When you upload a photo/graphic to Photobucket, there are three different codes generated underneath the photo - Url, Tag or Img. You just click on the 'tag' code, alt-C (copy) ... then go back to your template and alt-V (paste) into the template as above, after (li). You do the exact same thing for both the photo and the progress bar, as they're both saved in Photobucket. Does that make sense ... kind of? I'll colour in green above the Photobucket data for my actual photo, that might make more sense. Any time I want to add another progress piccie etc, I just copy and paste inside my template with the new file names.
The one thing you have to be really careful of is the sizing of the photo/graphic - if they're too big, it throws the entire layout of your blog out. There must be a simpler way to how I do it, but I don't know about it yet ... the way I do this is to save a smaller version of the photo especially for my sidebars, and I've set up a separate album for my sidebar photos in Photobucket. I use MS Paint - and basically open the file/photo I want to change ... I then use the Image menu - go down to Attributes and see what size the file is ... the example I'll use below is actually a file in my PC that has it's 'real' dimensions of 19.70cm x 24.83cm which is obviously wayyyy to big for the sidebars. I try to get my dimensions down to approx 2cm wide, and it doesn't matter to me what the height is, as I know 2cm will fit nicely in my sidebars. For this piccie it means I need a file that is only approx 10% of the whole size to give me the right width (1.97cm for example).
So, now I go to the MS Paint menu for Image ... Stretch/Skew - and I "stretch" my horizontal measurement to 10%, and my vertical measurement to 10% and hit OK. My piccie miniaturises instantly. Then I check my measurements are OK by going back into Image ... Attributes, and it's now 1.98cm x 2.49cm - perfect! All I need to do now is to Save As ... then upload it into Photobucket, and I can copy the image data code as we did above. And here's the result ...

Like I said, I'm sure there's a much simpler way to do things - but this is the only way I've worked out how ... and it works, so that's all that matters to me for the time being. One day I'd like to do a basic HTML course, and work a few more things out. Hope it helps you out, though ... if it doesn't make sense, scream out and I'll try to make it clearer ... likewise, if someone knows how to do it much more simply, I'd love to know! :D
 Posted by Anne S at


5Comments:
I so badly want to put things into my sidebar but have absolutely no idea how to do it and no clue where to find that kind of information. So I'm saying a big fat THANK YOU!!! for sharing this info. You're the greatest! :o)
Hi Anne, thank you so much, this is very useful information - despite working in IT, I have no idea about this sort of thing, and I don't really want to ask the guys at work :) They might want to know why I want to know! Just to make you really nostalgic for Paphos, we have perfect weather here at the moment... I plan to spend Easter (next weekend for us) lounging in the Mediterranean sun with my stitching and a chilled glass of Aes Ambelis.
Anne are your bars static graphics and you just change which image you reference as you complete you work? If so that would have been so much easier when I started blogging. Mine are a flash program so I just type the % in on the "edit template" screen where you'd paste the image and it automatically changes. Mine came from Anna Knits which is no longer online. Great idea to use ( to get it to post :)
For someone who claims to be a novice (or words to that effect) you are doing pretty bloody well!!! I had to be led hand in hand by Linda and Sharon to do anything extra on my blogs! The latest thing I put on was a link to my Webshots album and that put photos on the side bar, which I hadn't really wanted, but I don't suppose it matters. You are doing well!
Thanks for the link. I'd been wondering how people were doing it, but was too shy to ask. I've bookmarked the page and will look into using them. Though as a side note...not sure if it would work...but if anyone has blinkies,(like me) could look up the sizes for those as a rough estimate of the largest you can go.
Post a Comment
<< Home